Loading page, please wait...
WhatsApp 24/7:+1 (302) 899-2888
You’ve just landed in Japan, feeling that rush of excitement. Maybe you're dreaming of slurping your first bowl of ramen in Shinjuku, getting lost in Kyoto’s bamboo forest, or navigating the hyper-organized chaos of Tokyo’s train stations. But then it happens. Your phone flashes “No Service.” Your eSIM isn’t working. No Google Maps. No translation app. No Instagram stories from the airport robot toilet.
If this sounds like you, don’t panic. You’re definitely not alone. Every week, thousands of travelers to Japan run into eSIM issues, especially first-timers using international eSIMs. Whether you're on an iPhone or Android, these hiccups are usually easy to fix once you know where to look.
In this guide, we’ll walk you through the most common reasons your eSIM might not be working in Japan, and how to fix it step by step. We’ll cover setup mistakes, troubleshooting tips, smart workarounds, and even share a few real traveler stories to help you feel less alone in this.
Let’s get you reconnected, so you can start enjoying Japan without worrying about Wi-Fi passwords or outrageous roaming charges.
Before we fix the problem, let’s understand why it’s happening. Japan is one of the most advanced tech countries in the world, but ironically, its mobile network setup can be tricky for travelers—especially those using international eSIMs.
Here are the most common reasons your eSIM might not be working properly.
This is one of the most common mistakes. Many travelers scan the QR code, install the eSIM, and think they’re done. But in some cases, the eSIM also needs to be manually activated, approved through a pop-up, or even restarted before it kicks in. If any step is missed, the eSIM might be sitting on your phone, installed but inactive.
Quick tip: Open your phone’s mobile settings, check if the eSIM line is active, then restart your phone and toggle airplane mode to refresh the connection.
Even though you're physically in Japan, your phone sees the eSIM as a foreign line. If roaming is turned off, your phone won’t let the eSIM connect to local data networks.
How to fix it:
On iPhone, go to Settings → Cellular → Your eSIM → Turn on Data Roaming.
On Android, go to Settings → Network & Internet → SIMs → Select your eSIM → Enable data roaming.
If you’re using both a physical SIM and an eSIM, your phone might still be trying to use the physical SIM for data, even if it’s not connected. That means your eSIM is just sitting there while your phone waits for your home SIM to connect.
Fix this by setting your eSIM as the primary data line in mobile data settings. You may also want to turn off the “Allow Mobile Data Switching” option (on iPhone) to keep your phone from jumping between lines.
Your phone needs the correct APN (Access Point Name) settings to connect to the internet. On many Android phones, you have to enter this manually. If it’s wrong or missing, your eSIM might connect to the network but won’t actually give you internet access.
Check your APN settings under mobile network settings, and refer to your eSIM provider’s instructions. On iPhones, this usually updates automatically, but it’s still worth confirming.
Not every phone supports eSIMs. Some devices are technically compatible, but locked to a specific carrier, meaning they can’t use third-party or international eSIMs. This issue is especially common with phones bought under contracts in the US, UK, or certain Asian countries.
Check if your iPhone supports and is unlocked for eSIM using Apple’s official guide. Also, make sure your Android phone is carrier-unlocked and supports eSIM. You can set up eSIM on Android with Google’s step-by-step instructions.
Make sure it’s also updated to the latest software version, since older firmware can affect connectivity.
Some eSIM plans in Japan are time-based. If you bought a 7-day or 15-day plan, it might simply have expired. Others are data-limited and will stop working once the data runs out, without warning.
Always double-check your plan’s expiry date and data usage. You can usually find this in your eSIM provider’s app or email confirmation.
Yes, Japan has excellent coverage overall, but signal drops still happen. Subways, rural villages, tunnels, and mountainous areas may cause temporary disconnection. If your eSIM was working earlier and suddenly stopped, it could be a location-based issue.
Wait a few minutes or move to an open area. You can also try switching to a different local network manually in your phone settings
Now that you know the common issues, here’s how to fix them in order. Try these steps one at a time, and test your connection after each one.
Start simple. Put your phone in airplane mode for about 10 seconds, then turn it off again. If that doesn’t help, go ahead and restart the phone completely. This forces your phone to refresh its network connection and often resolves temporary bugs.
Go to your eSIM settings and make sure data roaming is enabled. On iPhone, you’ll find this under Cellular > Your eSIM. On Android, look for the roaming option under Mobile Network or SIM settings. This is often the one fix people miss.
Check that your phone is actually using the eSIM for data. Set it as the default line for mobile data, and if you're using dual SIMs, turn off data switching. This ensures your phone doesn't fall back to your physical SIM, which won’t work internationally.
If your phone isn’t automatically connecting to a Japanese network, go to network settings and turn off automatic selection. Manually connect to SoftBank, NTT Docomo, or KDDI. These are the major mobile carriers in Japan, and one of them will usually work well depending on your location.
On Android devices, check the APN section under your mobile network settings. If it’s blank or incorrect, your eSIM won’t be able to access the internet. Use the APN settings provided by your eSIM provider and input them manually.
On iPhone, this usually updates on its own, but it’s good to confirm under “Cellular Data Options.”
This is a more advanced fix. Resetting your network settings will remove all saved Wi-Fi passwords and Bluetooth devices, but it can also clear up any conflicts or errors that are blocking your eSIM.
On iPhone, go to General > Transfer or Reset > Reset Network Settings.
On Android, you’ll find it under System > Reset Options > Reset Wi-Fi, Mobile & Bluetooth.
If none of the above works, it might be best to delete the eSIM and reinstall it. Just make sure your provider allows reinstallation. Some only allow one-time activation unless you contact support.
Delete the eSIM from your phone settings, restart your device, and then reinstall it using the original QR code or app instructions.
Here are two quick stories from travelers who fixed their eSIM issues with just one small change.
“I installed my eSIM and saw full signal bars, but the internet just wouldn’t work. I was getting frustrated until I realized data roaming was turned off. The moment I switched it on, everything started working perfectly.”
— Mei from Australia
Takeaway: Always make sure data roaming is enabled. Even if you're already in Japan, your phone treats the eSIM as a foreign connection.
“When I arrived in Tokyo, my eSIM showed ‘No Service’ even though it was properly installed. After trying different things, I manually selected SoftBank from the network list. Within seconds, I was connected and online.”
— Carlos from the US
Takeaway: If your eSIM isn’t connecting automatically, go to your phone’s network settings and choose a local carrier manually.
Providers that let you manually select between SoftBank, Docomo, or KDDI are more flexible. If one network isn’t working well in a certain area, you can switch.
Some eSIMs only allow one-time use. Choose a provider that lets you reinstall your eSIM if needed, especially if you lose it or switch phones during the trip.
Bargain eSIMs can be tempting but often come with poor coverage and zero customer support. Pay a little more for reliability and peace of mind.
If you're a light user, 3GB may be enough. For heavy streaming and navigation, go for 10–20GB or unlimited data. Choose based on how connected you need to be.
Look for customer service you can reach anytime, ideally via live chat or WhatsApp. You never know when you’ll need help — especially with timezone differences.
If it’s your first time using an eSIM, choose a provider with easy-to-follow guides and visuals. This saves you time and stress, especially after a long flight.
Local or regional eSIMs offer faster speeds and better reliability than generic global eSIMs. They’re usually tuned for Japan’s unique network environment.

It could be due to roaming being off, APN settings, expired plan, or a locked/incompatible device.
Restart your phone, enable data roaming, set the eSIM as the data line, or manually pick a local network like SoftBank.
SoftBank, NTT Docomo, and KDDI are the top options.
Yes. Your phone sees the eSIM as a foreign line, so roaming must be on.
Only if your provider allows it. Some offer easy re-downloads, others don’t.
Landing in Japan without working mobile data can be a nightmare, especially when you're relying on your eSIM for maps, translations, and everything in between. But the good news? Most eSIM problems are minor and totally fixable in just a few minutes.
Whether it’s turning on data roaming, resetting your network settings, or manually selecting a local carrier, these small adjustments can save your trip from turning into a tech disaster. The key is to stay calm, follow the steps, and remember that you’re not alone — thousands of travelers go through the exact same thing every week.
Still having issues? Don’t waste time troubleshooting — reliable travel eSIM options for Japan from Gohub and enjoy instant activation, real 24/7 support, and smooth coverage across SoftBank, Docomo, and KDDI.
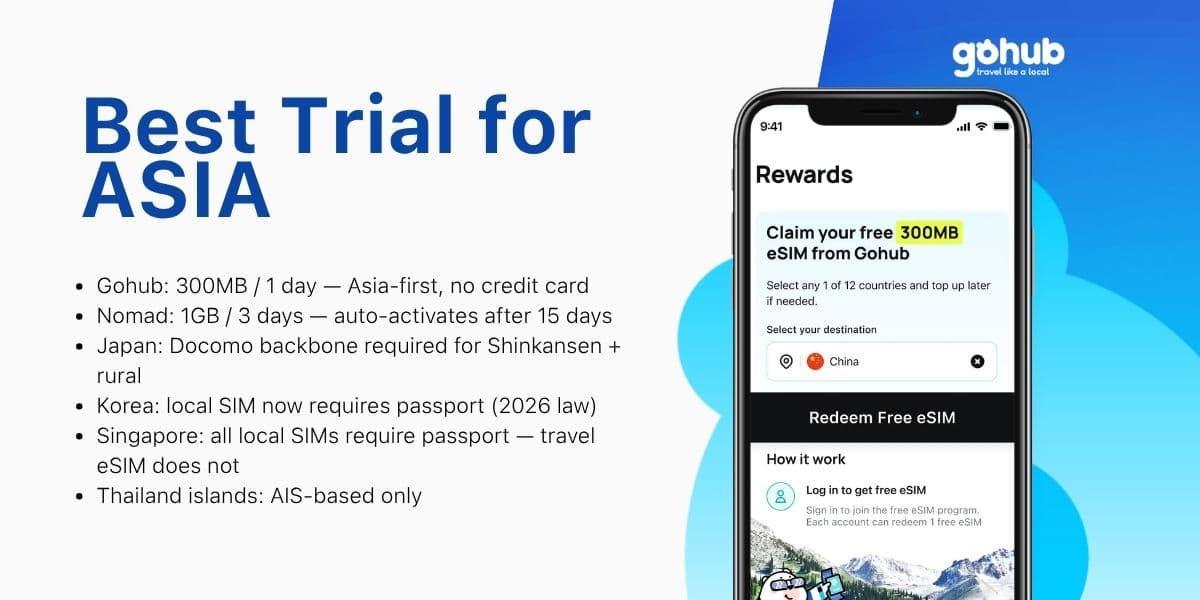
Traveling to Japan, Korea, Thailand, or Singapore? Compare free eSIM trials by destination, trip length, and KYC requirements — find the right option for your Asia itinerary.
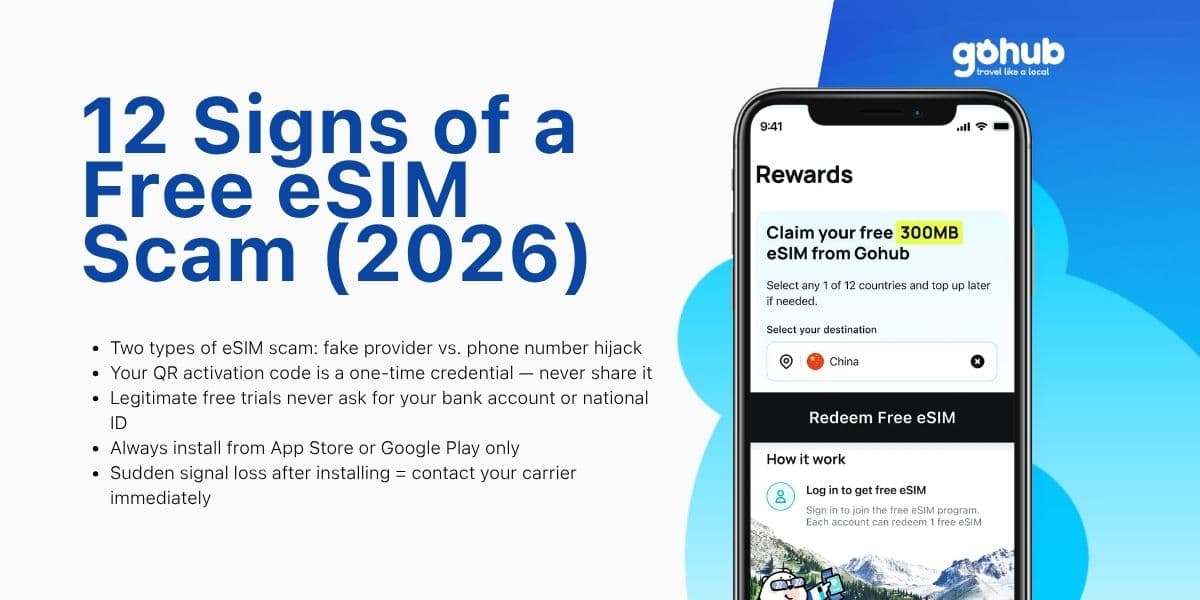
Fake QR codes, "free unlimited" traps, SIM swap attacks — learn the 12 warning signs of a free eSIM scam and how to verify any provider before you install. Updated March 2026.
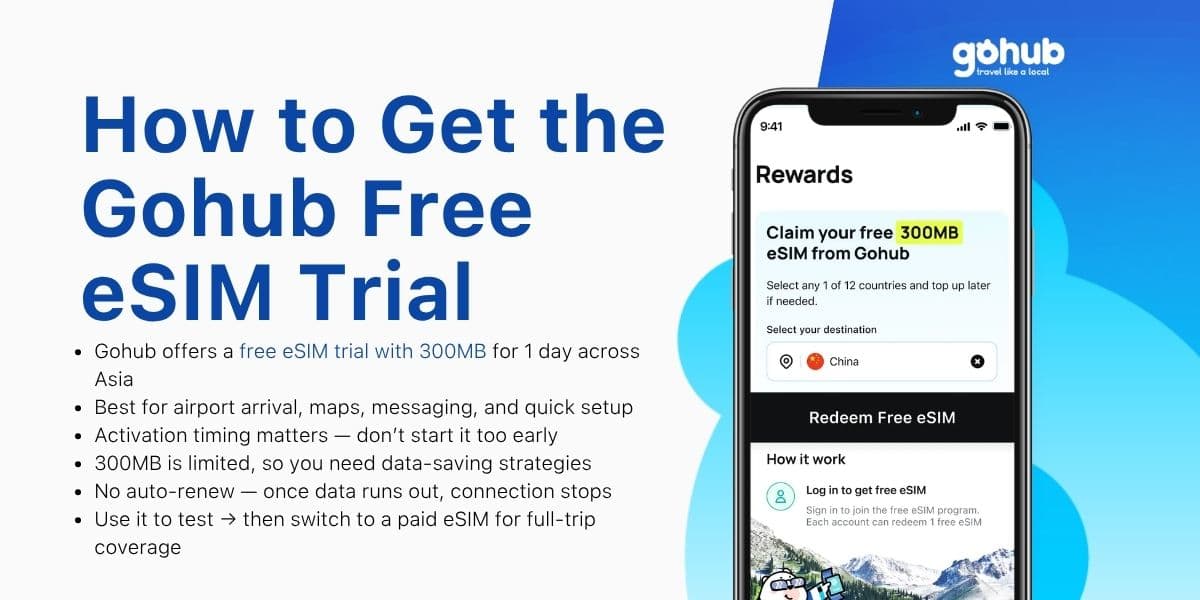
Get a Gohub free eSIM trial with 300MB for 1 day across Asia. Learn how to activate, use data efficiently, and avoid common setup issues.