
Welcome, fellow traveler, digital nomad, or anyone tired of juggling tiny plastic squares! The world of eSIM on Android is here, and it’s a fantastic upgrade for seamless connectivity, especially when you’re hopping across borders. An eSIM, or embedded SIM, is essentially a digital version of a SIM card that’s built right into your device, allowing you to activate a cellular plan without needing a physical card.
Think of it like this: instead of swapping SIMs at airport kiosks, you simply download a profile onto your phone. This is incredibly convenient for managing multiple numbers or getting quick data access when traveling internationally.
💡 At GOHUB, we’ve helped thousands of Android travelers activate travel eSIMs easily and affordably across 100+ countries. No roaming fees, no eKYC in most destinations—just instant connectivity and real human support, 24/7.
Whether you’re researching how to install eSIM on Android, or troubleshooting a travel eSIM not working, this guide’s for you.
I. Getting Ready: Essential Prerequisites
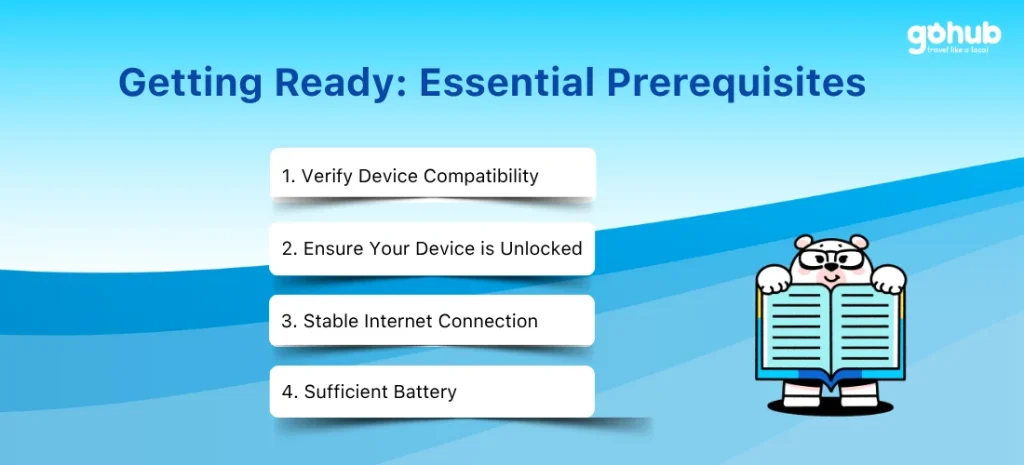
Before you dive into the activation process, let’s make sure you’re all set up for success. Skipping these initial checks can lead to frustration down the line.
- Verify Device Compatibility: This is non-negotiable. eSIM functionality isn’t on every Android phone, primarily newer models. To check if your device supports it, look up your phone’s specifications online or on the manufacturer’s website. A neat trick is to dial *#06# on your phone’s dialer. If you see an EID (Embedded Identity Document) displayed, your phone very likely supports eSIM. You can also check your carrier’s or provider’s website, as they often list compatible devices.
- Ensure Your Device is Unlocked: To use an eSIM from a provider different from your original carrier, your phone must be network unlocked. If you bought your phone directly from a carrier, it might be locked. You can usually check the unlock status in your device settings or by contacting your carrier. A quick test is to put a physical SIM from a different local carrier into your phone; if it works, your phone is likely unlocked.
- Stable Internet Connection: You’ll need to download the eSIM profile to your device, and a strong internet connection, preferably Wi-Fi, is needed for this.
- Sufficient Battery: Ensure your phone is charged before starting activation to avoid interruptions.
Obtaining Your eSIM Profile
🧳 If you’re using GOHUB, your Android eSIM profile is delivered instantly after checkout—QR code, manual details, and setup guide all included. No need for account verification or hidden fees.
Once you’ve confirmed your device is ready, your carrier or eSIM provider (like Airalo, Roamless, or others) will give you the information needed to download your digital SIM profile. This usually comes in one of two forms: a QR code or manual activation details (an SM-DP+ Address and an Activation Code). These details are typically provided after you purchase a plan, often via email, their app, or on their website.
🍏 Using an iPhone instead? Here’s how to install eSIM on iPhone in just a few taps.
II. How to Activate eSIM on Android – Step-by-Step Setup (Samsung, Pixel, etc.)
Alright, this is where the magic happens. The exact menu names can vary slightly depending on your Android phone’s manufacturer (like Samsung, Google Pixel, Motorola) and the specific version of the Android operating system you’re running. However, the core path is generally quite similar.
Here are the two main methods:
- Method 1: Using a QR Code (Most Common)
- Open your device’s Settings.
- Navigate to Network & Internet or Connections. (On Samsung, it’s usually Connections).
- Look for and tap on SIM manager or Mobile network. (On Pixel, it’s often Mobile network, and you might see “+ Add carrier” if adding a second line. On Samsung, look for SIM card manager).
- Select the option to Add eSIM or Add mobile plan. (You might be prompted with “Don’t have a SIM card?” – tap Next).
- Choose to use a QR code and scan the code provided by your carrier or provider. (On Pixel, this might be under “Download a SIM instead”).
- Follow any on-screen prompts to complete the download and activation.
- Method 2: Manual Activation (If QR fails or isn’t provided)
- Follow the initial steps (1-4) above to navigate to Add eSIM/mobile plan in Settings.
- Select the option to Enter Code Manually or Enter Details Manually.
- Input the SM-DP+ Address and Activation Code provided by your carrier or provider. (You might need to copy the details first).
- Follow any additional on-screen instructions to activate.
Curious how eSIM works on iPhone 16? This guide explains it all.
The process should be designed to be user-friendly, even without deep technical knowledge.
💡 Pro Tip from GOHUB: Even if you don’t have a QR code, our plans include manual activation details like SM-DP+ Address and Activation Code—perfect for last-minute installs on the road.
Planning to change carriers or plans later? This step-by-step guide shows how to switch between eSIMs.
III. Post-Activation: Configuring Your eSIM
Your eSIM is installed, but you’re not quite done. You need to tell your phone how to use this new line.
- Enable and Set Preferences: Go back to your Network & Internet or SIM manager settings.
- Enable the eSIM line under Mobile Network.
- Enable Mobile Data for the eSIM.
- Enable Data Roaming for the eSIM. This is ABSOLUTELY CRITICAL if your eSIM is for use in a different country, like a travel data plan.
- Set the eSIM as your preferred SIM for mobile data.
- Configure your preferences for calls and messages (e.g., which SIM to use by default or if it should ask every time).
- APN Setup: Some providers, especially travel eSIMs, may require you to manually configure an Access Point Name (APN). Think of the APN as the gateway your phone uses to connect to the internet on a mobile network. Your provider will give you the specific APN settings if needed.
- Generally, go to Settings > Connections/Network & Internet > Mobile Networks > Access Point Names. Tap “Add New” or the ‘+’ icon, input the details provided by your provider, and make sure to save.
- Pro Tip & Restart: Some phone interfaces offer shortcuts right after installation to jump to data settings for quick configuration. Once you’ve finished setting everything up, it’s often a good idea to restart your phone to ensure all settings are properly applied.
Got a Xiaomi 12? Check if your phone supports eSIM here.
IV. Managing Multiple eSIMs and Dual SIM Use
One of the biggest benefits of eSIM for travelers is the ability to manage multiple profiles.
- Android devices that support eSIM can typically store multiple eSIM profiles, although you can usually only have one active for data at a time (excluding newer developments like MEP).
- You can easily switch between your stored profiles within the Network & Internet or SIM manager settings.
- You can often rename your eSIM profiles (like “USA Travel” or “Work Line”) to make them easier to identify.
- Leveraging Dual SIM with eSIM: If your Android phone has both a physical SIM slot and eSIM capability, you can use both simultaneously. This is particularly useful for travelers. You can keep your primary physical SIM active for receiving calls or texts from your home country (though standard roaming rates may apply for calls/texts on the physical SIM) while using the eSIM for affordable mobile data abroad.
- CRITICAL ADVICE for Dual SIM Travel: To avoid unexpected and often exorbitant roaming charges from your home carrier, MAKE SURE TO TURN OFF MOBILE DATA and DATA ROAMING on your primary physical SIM when you arrive at your destination and are using your travel eSIM for data.
- Android 13+ introduced support for Multiple Enabled Profiles (MEP) on a single eSIM. This is a more technical capability that allows a single embedded SIM chip to have more than one profile active simultaneously, but its availability depends on device and carrier implementation.
Want to keep your current SIM active too? Learn how to use eSIM and SIM together with no conflict.
V. Fixing eSIM Activation Issues on Android: Troubleshooting Guide
Ran into a snag? Don’t sweat it; here are some common problems and how to fix them:
- QR code won’t scan: Ensure the code is well-lit and clear. If it still fails, try the manual activation method using the SM-DP+ Address and Activation Code if your provider supplied them.
- Activation failed after scanning/manual input: This can happen. Try deleting the eSIM profile that failed to install from your phone’s settings. Then, attempt to re-scan the QR code or re-enter the manual details. If it continues to fail, the issue might be with the activation code or profile itself – contact your carrier or eSIM provider for a new one.
- Lost your eSIM activation QR code or manual details: Contact your carrier or eSIM provider. They can usually resend the information, sometimes through their app or customer support.
- eSIM activated, but data isn’t working:
- Double-check that the eSIM line is enabled in your settings.
- Ensure Mobile Data is enabled for the eSIM.
- Confirm Data Roaming is enabled for the eSIM if you’re outside your home country.
- Verify that the eSIM is set as your preferred SIM for mobile data.
- Check if your provider required a manual APN setup and ensure the settings are entered correctly.
- Try toggling Airplane mode on and off.
- Restart your phone.
- General Tips: Before starting, try turning off any VPN you might be using, as it can sometimes interfere with network configuration. After setup, do a quick check of your data usage settings or try loading a webpage to confirm connectivity. If all else fails, consulting your device manufacturer’s support page or contacting your carrier/eSIM provider’s helpdesk is always a good next step.
Device and Carrier Differences
As we mentioned, the exact pathway through the settings menus can differ between manufacturers like Samsung and Google Pixel. For instance, Samsung often uses “Connections” > “SIM card manager”, while Pixel uses “Network & Internet” > “Mobile network”. Some carriers or device models might even require you to use a specific app from the carrier to manage or activate the eSIM. If you get stuck, checking your phone’s user manual or the support pages for your specific device model and carrier is recommended.
Having trouble adding your eSIM? This troubleshooting guide fixes common eSIM issues.
VI. Conclusion: Enjoy Your eSIM Connectivity!
See? Activating an eSIM on Android really is a straightforward process once you know the steps. By following this guide, you can confidently set up your digital SIM and take full advantage of the flexibility and convenience it offers.
✨ Whether you’re a digital nomad juggling SIMs across Southeast Asia or a casual traveler needing fast setup at the airport—GOHUB’s eSIMs for Android are built for speed, flexibility, and unbeatable value.
👉 Ready to skip the stress? Explore eSIM plans now !
So go ahead, activate your eSIM, keep your physical SIM for home, and enjoy seamless, flexible, and potentially much more affordable connectivity wherever your travels take you!
On a Vivo device? Here’s the specific guide to activate eSIM on Vivo phones.